Know how to use the SafePal crypto assets wallet in this beginners tutorial. SafePal Software Wallet offers the safest, fastest, and most convenient way to trade, store and manage your crypto assets, especially in DeFi.
This SafePal crypto assets wallet beginners tutorial will teach users how to create a SafePal software wallet within the SafePal Wallet application. The focus will cover the basics of creating a software wallet, receiving coins and tokens in the SafePal app. And also adding cash to the SafePal app for viewing.
Step 1 – Download and Install the SafePal Crypto Wallet App
First, to beginners use SafePal’s crypto assets wallet, you will need to download a SafePal app. SafePal Software Wallet is a hardware and software wallet crypto solution, and the SafePal app is available for Android and IOS users. When the app asks for permissions, grant the necessary ones to work correctly. Once downloaded and installed, you are ready to configure the app!
Step 2 – Configure the SafePal App
So after downloading the SafePal app from the App Store via Android or IOS, users can open the app and create a software wallet.
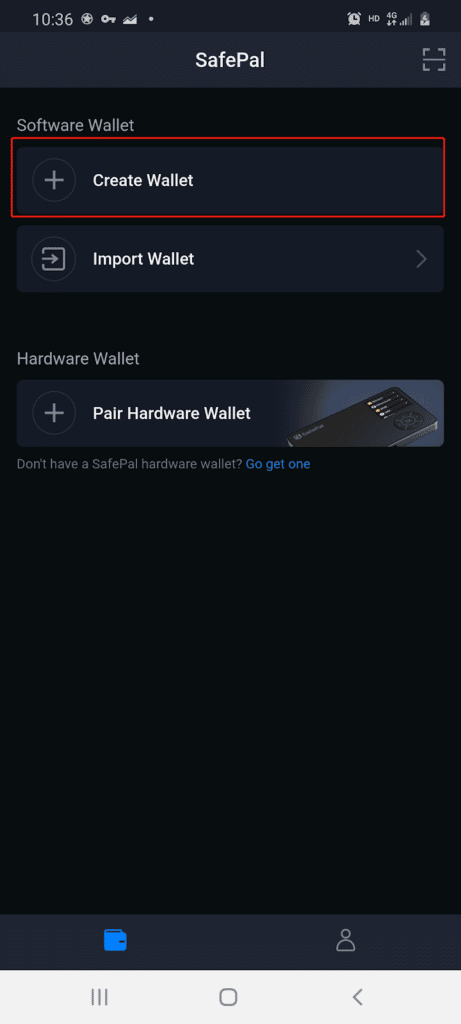
So now, this will be the first page a new user will see when opening the SafePal application for the first time.
Just select ‘Create wallet’ (highlighted in red box)
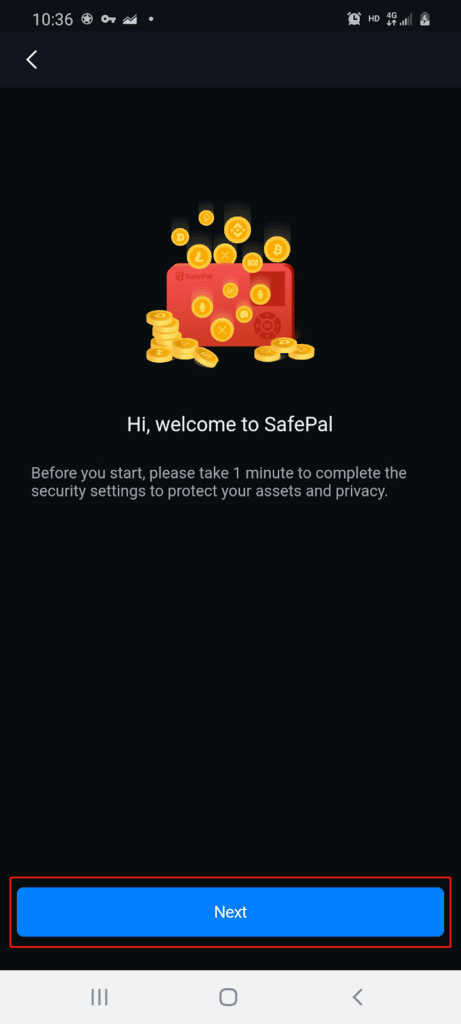
Then return to the next page. Select Next (highlighted in red box)
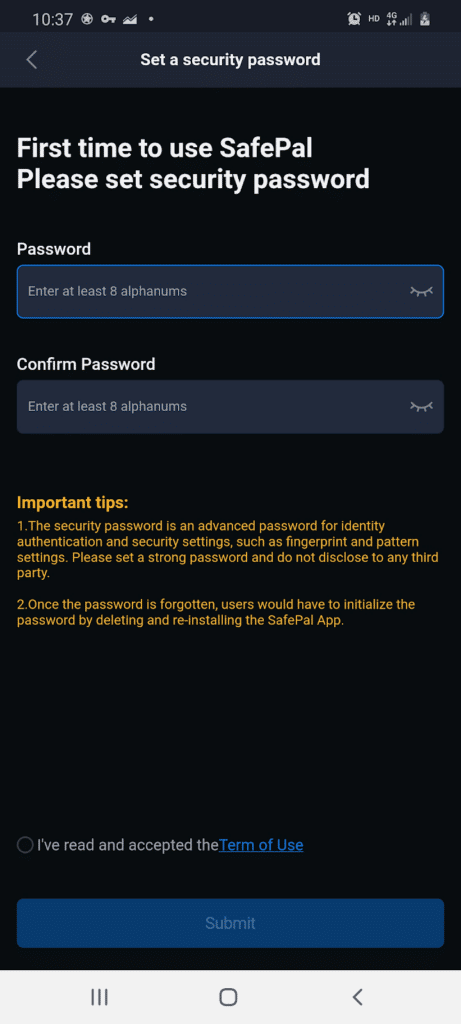
The next page will ask users to create a password for the SafePal app. You must enter at least 8 alphanumeric characters like any other platform to create your password. Enter the password, confirm it, and read the terms of use before checking the bookmark to verify that you have read them. Let’s face it, and no one reads the terms of use.
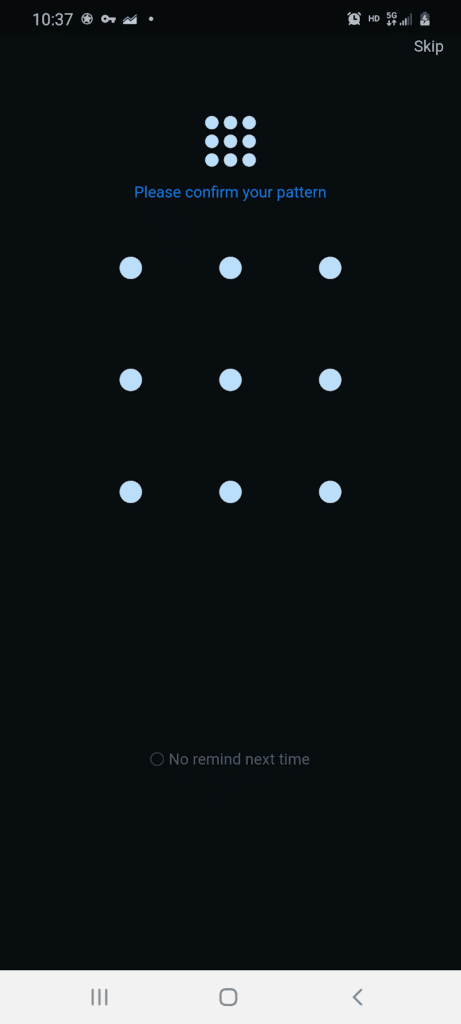
Once you create the security password, you will need to add your fingerprint to it, and then users will prompt to create a default password as an extra layer of security for their crypto assets.
After creating the security and default passwords, you will officially complete the first step of setting up a crypto wallet software in the SafePal application.
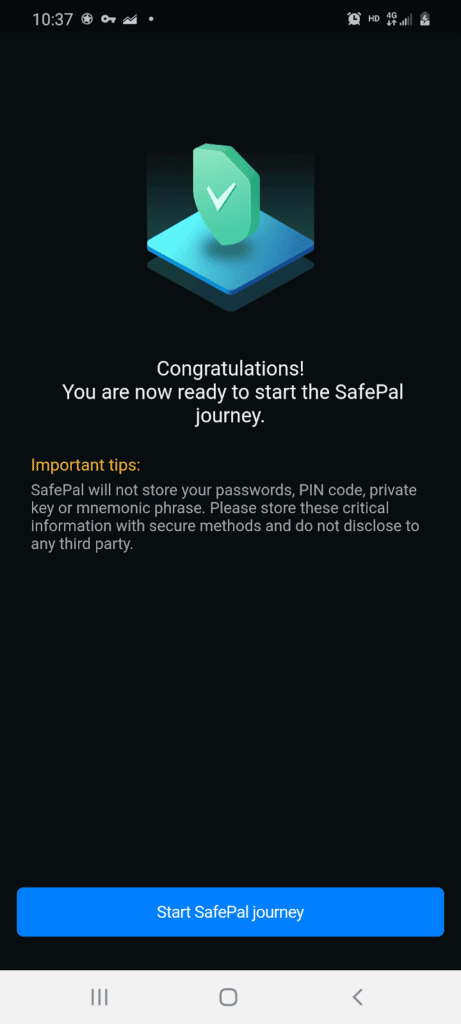
To start our SafePal tutorial journey, we must create an in-app software wallet.
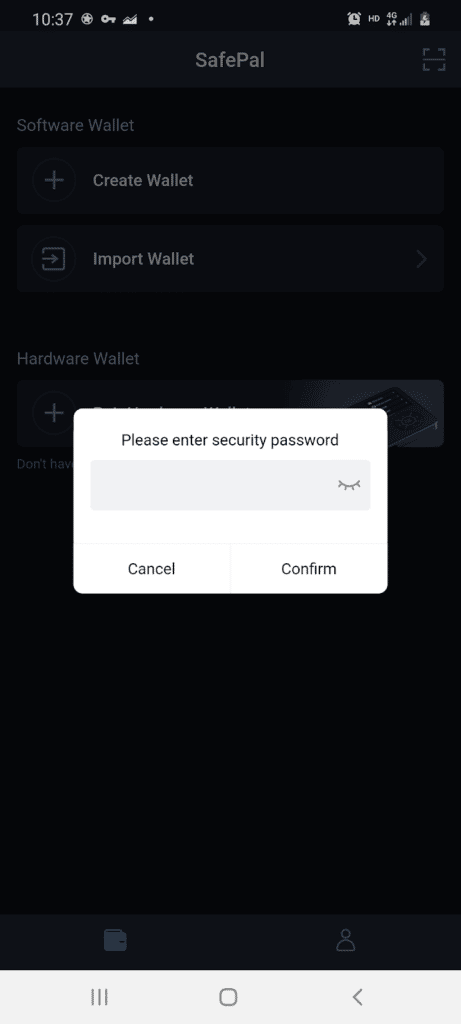
Step 3 – Create a software wallet
A new screen will appear if you tap Software Wallet on the main screen. It gives you the option to create or import a wallet. First, enter the security password you created.
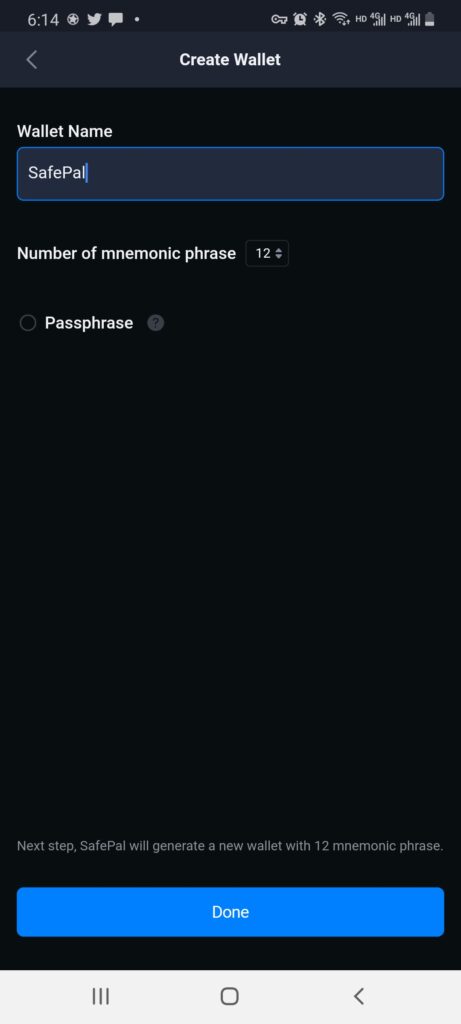
The next step involves naming your new software wallet and selecting the number of mnemonic phrases you want to use. In this case, we will call the crypto wallet software in SafePal and set the number of mnemonic phrases to 24. Then click Next.
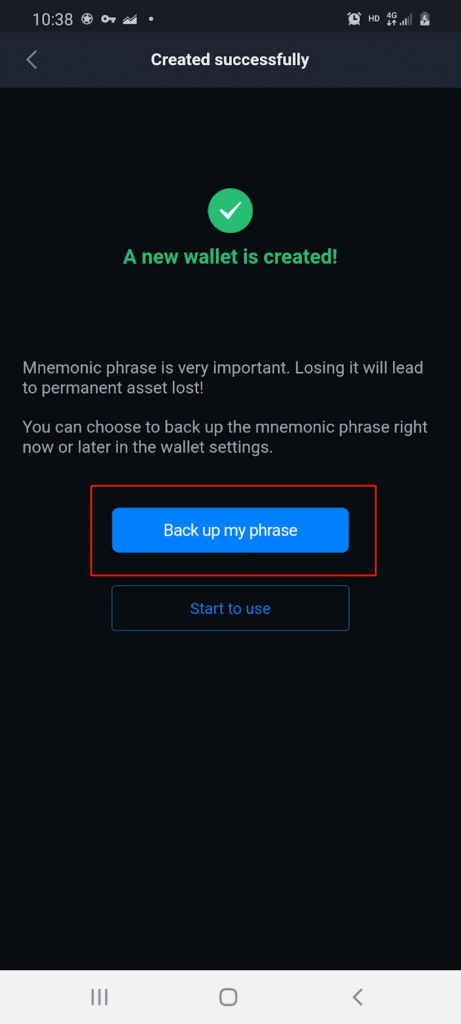
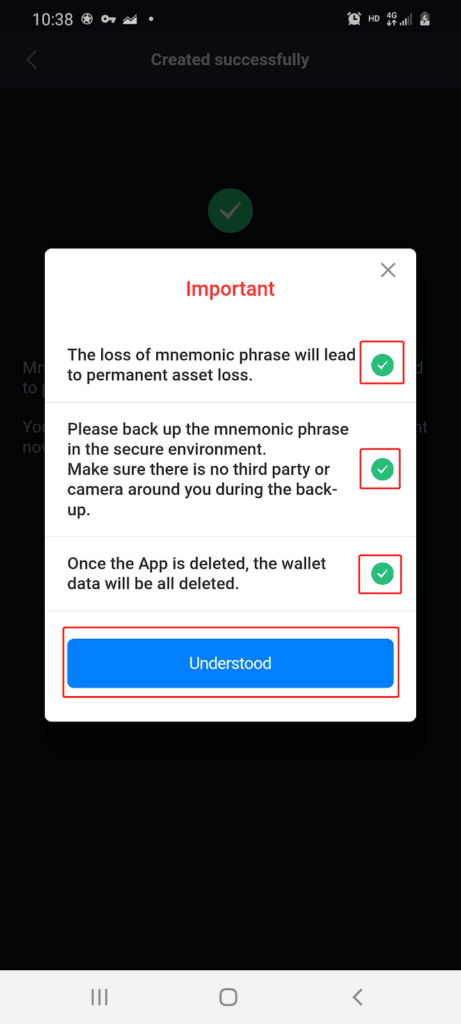
And create the new software wallet, but back up your mnemonic phrase by selecting the Backup my phrase button and agreeing to all warnings.
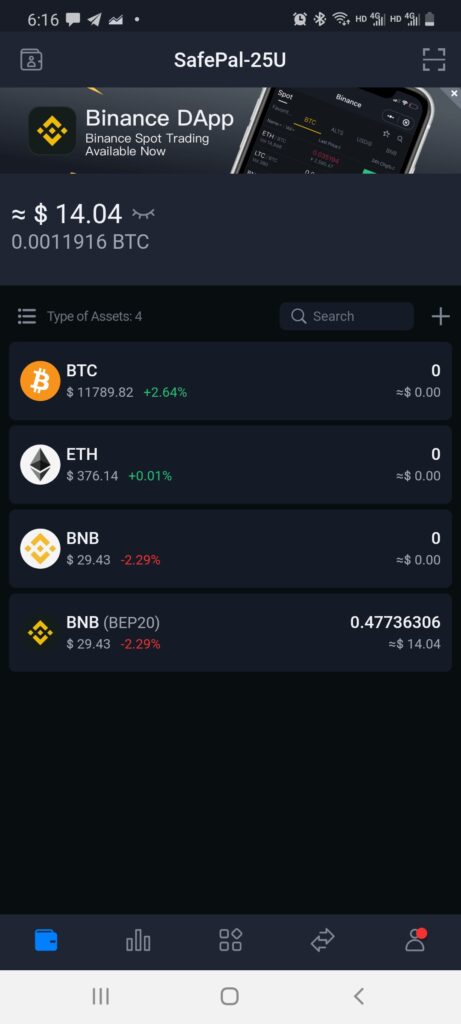
Once users have successfully backed up their mnemonic phrases, the Software Wallet is ready for SAFE use. You can verify that you created the wallet by selecting the address tab highlighted in red in the upper left corner.

Step 4 – Transfer crypto assets to your SafePal software wallet
The next step is for the user to transfer ETH to their software wallet account. This is because her ETH is essential to participate in the DeFi protocol. Your GAS fees that required to confirm transactions. So, as an example, we will first send some ETH from the Wallet Coin Management page.
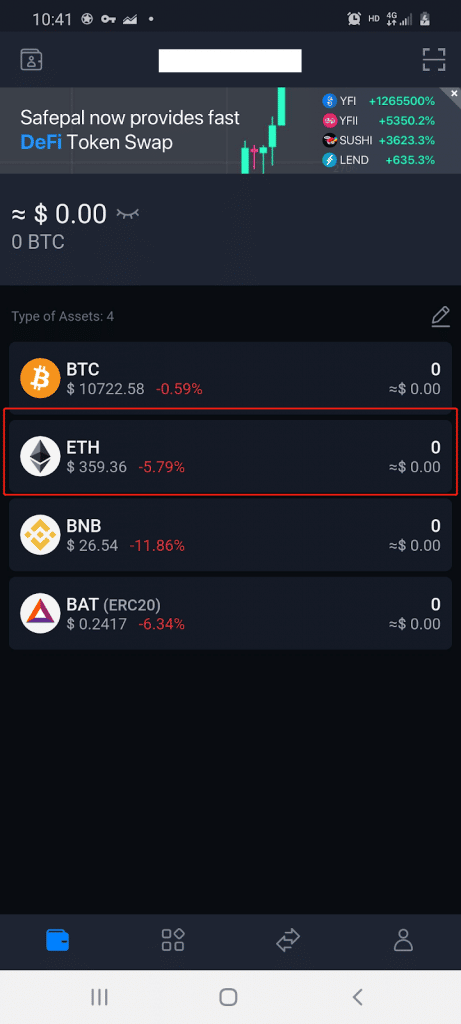
Once users select ETH, they will send it to the ETH Wallet Details page.
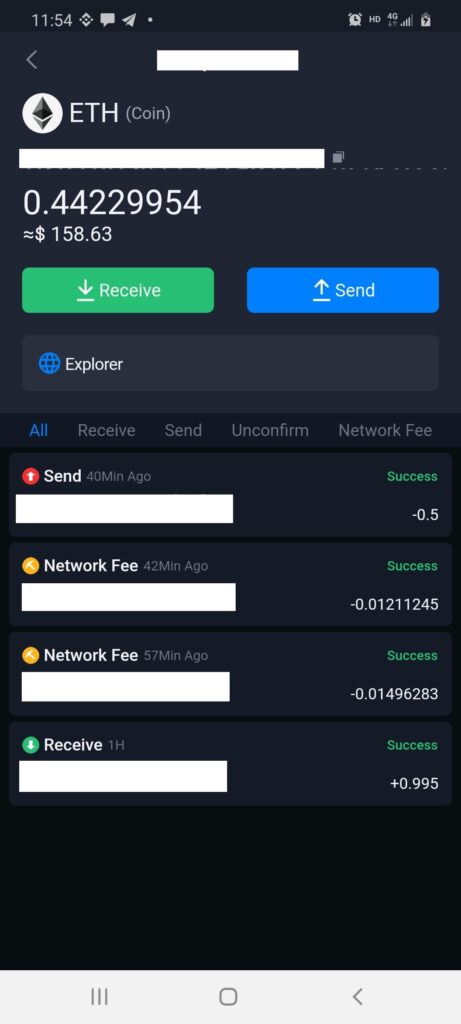
This page will provide all the transaction details that took place through the user’s ETH in their respective wallets.
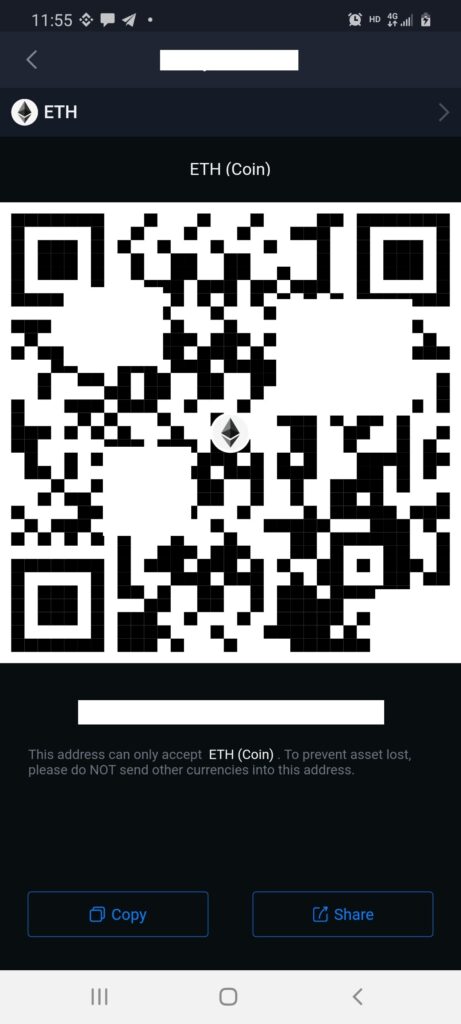
The user must select Receive to send the ETH to the software wallet. This will take the user to her ETH receipt page. Users can now send ETH to designated software wallet addresses.
Step 5 – Add Other Coins/Tokens to the Software Wallet Screen
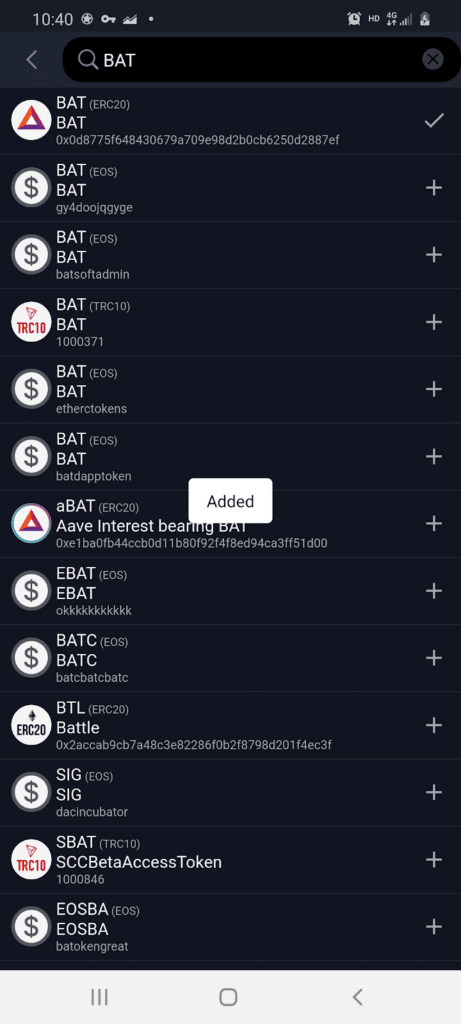
Suppose you do not wish to receive ETH and would like to send and receive other coins or tokens. For example, if you want to provide liquidity using other pairs for your DeFi protocol, such as BAT. You must first add BAT to your wallet coin management page by selecting the pencil icon (highlighted in red).

It will allow users to access the coin management page. And where users can add any SafePal-compatible crypto and tokens to their software wallet. In this case, we will add BAT tokens.
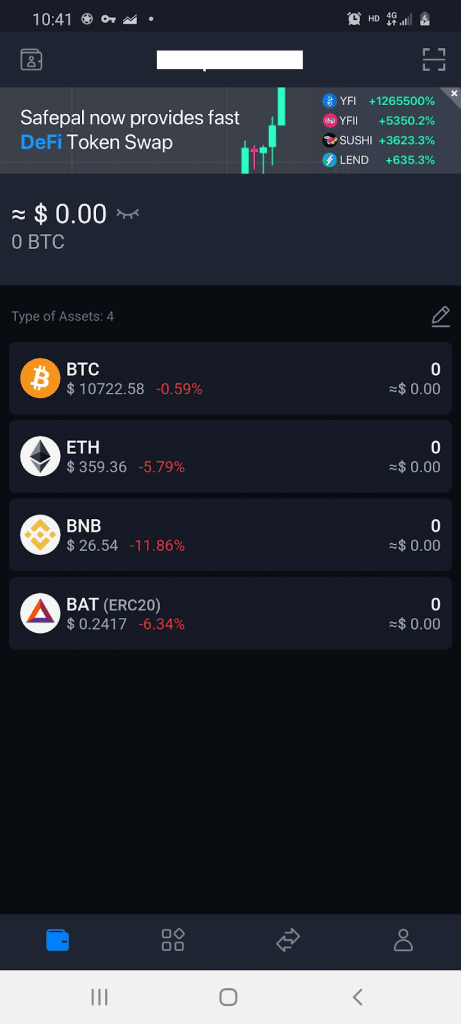
After adding BAT tokens, users will now be able to see it being displayed on the wallet’s coin management page.
How to recover the SafePal software wallet?
Use the SafePal crypto assets wallet beginner tutorial; cell phones are vulnerable to a number of problems. From being stolen to being blocked for rooting it the wrong way (yes, I’m talking about my experiments), a lot can go wrong.
Therefore, if you find yourself in a situation where your mobile phone is lost, or you cannot use it, you cannot access the application. Without the app, your SafePal software wallet will no longer be accessible.
And that leaves us with an important question: are all our assets lost?
They are not lost. You can always retrieve them as long as your mnemonic phrases are safely stored. So, let’s talk about how you can get your SafePal software wallet back (and not spend countless nights thinking you’ve lost all your assets)!
You’ll need to download and install the SafePal app on your smartphone. Then, you will need to tap “Create Wallet” and complete the security settings as before.
When done, you must tap “Import by Mnemonic Phrase.” Then, the app will prompt you for your security password. After that, you will see the screen shown in the screenshot below.
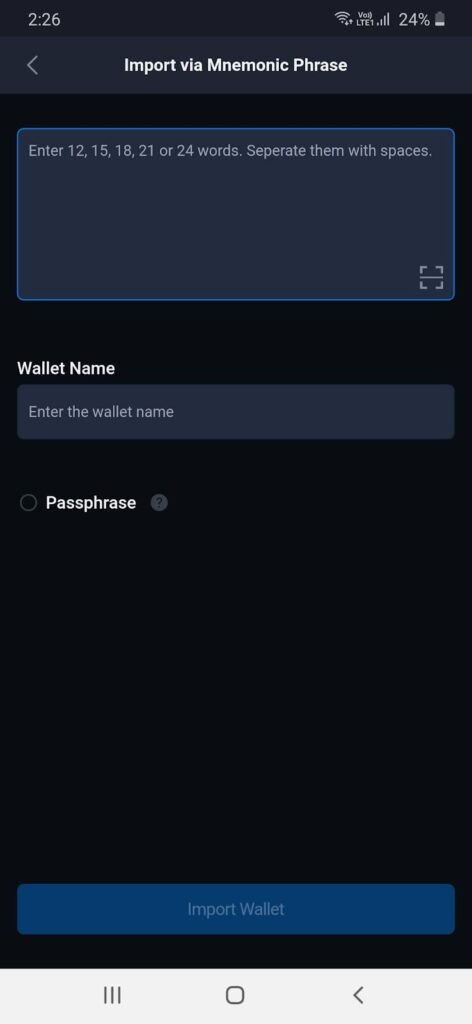
Here you must enter the 12, 15, 18, 21, or 24 words of the mnemonic code you saved in one of the previous steps.
Well, if you can’t read on paper, don’t worry. If you enter a word that does not belong to a mnemonic phrase that exists in your application, the field turns red. In addition, if you previously set a password in addition to the mnemonic code, you must also enter it.
Just enter your wallet name, and done.
Conclusion
After reading this SafePal Crypto Asset Wallet beginners tutorial, we learned that, like any other investment, you must ensure that your crypto assets are protected as best as possible. And SafePal makes it happen.
While it is already one of the best software wallets on the market, we can still expect it to improve over time.
So this covers setting up a software wallet in the SafePal app. We hope this SafePal crypto assets wallet beginners tutorial has helped guide you on your SafePal journey.
The post How to Use SafePal Crypto Assets Wallet? Beginners Tutorial appeared first on Visualmodo.


0 Commentaires